

Ah Marionberries! How I have missed you!
Oregon's own beautiful berry that makes all other berries seem sub par.
Well, at least that's what my family believes.
Marionberries are our favorite berry,
and as soon as the berry becomes ripe,
I immediately head out into the berry fields to pick as many as I can fit into my bucket.
Then, as soon as that bucket is used, I head out again.
Somehow there never seems to be enough marionberries in jars of jam, freezer bags, or in the stomach of family and friends to make it through another year.
I hope that with my fierce berry picking and preserving them for the winter, I'll be able to satisfy every ones marionberry needs.
But first things first...a pie for Dad.
Marionberry Pie
 Recipe modified from Joy of Baking
Short Crust Pastry:
2 1/2 cups all-purpose flour
1 teaspoon salt
2 tablespoon granulated white sugar
1 cup unsalted butter, chilled, and cut into 1 tbl. pieces
1/4 to 1/2 cup ice water
 Berry Filling:
6 cups marionberries
2/3 cup granulated white sugar
3 tablespoons cornstarch
1 tablespoons lemon juice
1 tablespoon cold unsalted butter, cut in small pieces
Directions
modified from Joy
of Baking:
 Short
Crust Pastry:
Short
Crust Pastry:1. In a food processor, place the flour, salt, and sugar and process until combined.
2. Add the butter and process until the mixture resembles coarse meal (about 15 seconds).
3. Pour 1/4 cup water in a slow stream. If necessary, add more water. Do not process more than 30 seconds.
4. Turn the dough onto your work surface and gather into a ball.
5. Divide the dough in half, flattening each half into a disk,
cover with plastic wrap, and refrigerate for about one hour before using.
 6. After the dough has chilled, remove one portion of the dough
from the fridge and place it on a lightly floured surface. Roll the pastry into
a 12 inch circle.
6. After the dough has chilled, remove one portion of the dough
from the fridge and place it on a lightly floured surface. Roll the pastry into
a 12 inch circle.
7. Fold the dough in half and gently transfer to a 9 inch pie pan.
Make
the Berry Filling:
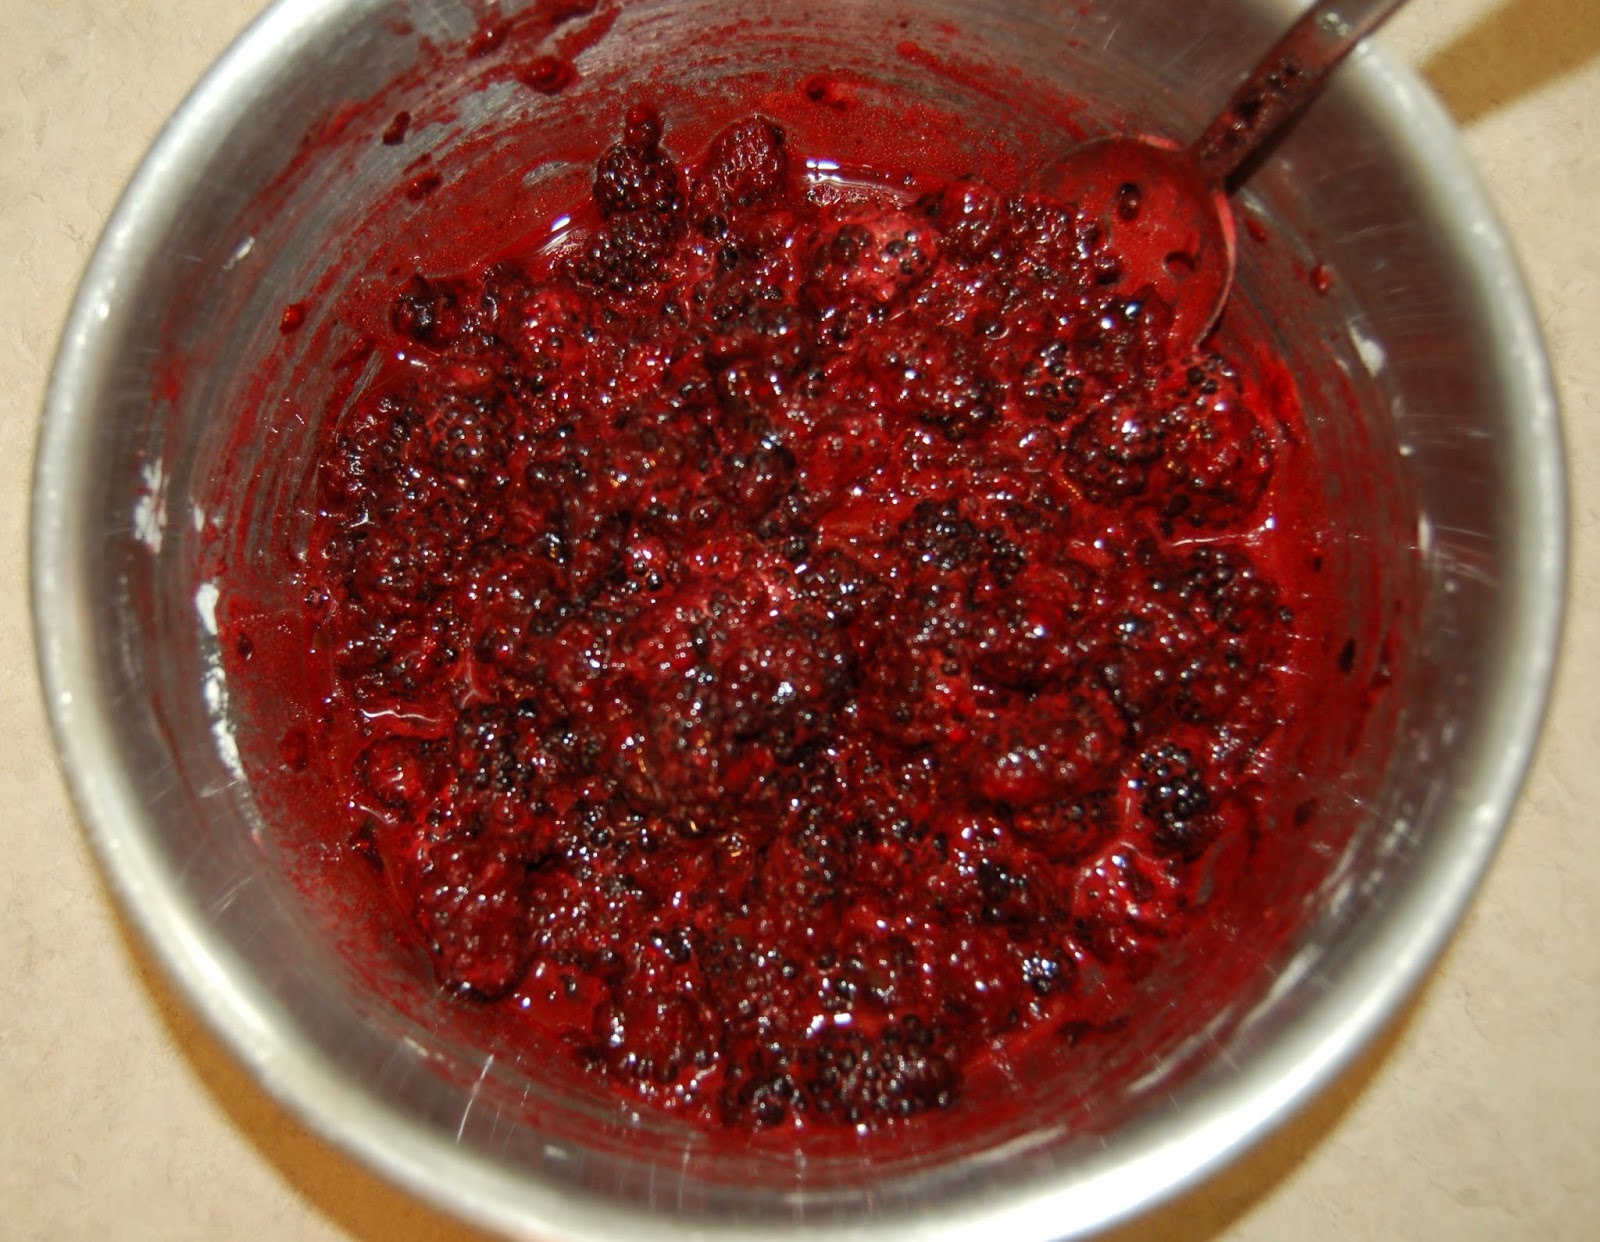
1. In a small bowl mix together the sugar, cornstarch, and lemon
juice.
 2. Place the berries in a large bowl. Add the sugar mixture to the
berries and gently toss to combine.
2. Place the berries in a large bowl. Add the sugar mixture to the
berries and gently toss to combine.
3. Pour the mixture into the prepared pie shell and dot with the 1
tablespoon of butter.
Put Pie Together:
 1. Remove the second round of pastry from the fridge and roll it
into a 13 inch circle.
1. Remove the second round of pastry from the fridge and roll it
into a 13 inch circle.
2. Fold the dough in half and gently transfer to the top of the 9
inch pie pan.
3. Preheat the oven to 400 degrees F and place the oven rack in
the lower third of the oven. Put a baking sheet on the oven rack. (The pie
plate will be placed on the hot baking sheet to catch any spills.)
 4. Bake the pie for about 20 minutes and then reduce the oven
temperature to 350 degrees F. Continue to bake the pie for about 35 - 45 minutes
or until the crust is a deep golden brown color and the juices are bubbling and
thick. If the edges of the pie are browning too much during baking, cover with
a foil ring or aluminum foil.
4. Bake the pie for about 20 minutes and then reduce the oven
temperature to 350 degrees F. Continue to bake the pie for about 35 - 45 minutes
or until the crust is a deep golden brown color and the juices are bubbling and
thick. If the edges of the pie are browning too much during baking, cover with
a foil ring or aluminum foil.  One
of the things that I LOVE about this recipe is that the crust is so easy to
handle. Though I love my family recipe, it is quite temperamental which has
caused be great distress in the past. I will still be making the beloved crust,
but this is a nice change.
One
of the things that I LOVE about this recipe is that the crust is so easy to
handle. Though I love my family recipe, it is quite temperamental which has
caused be great distress in the past. I will still be making the beloved crust,
but this is a nice change.
And,
the review is in:
"Great
crust and just the right amount of sweetness and tartness!"
from
my Dad, and my Mom agrees.
So
I say that this pie received a 5 star rating...if I do say so myself, and I do.
Happy
Baking,
Lori
**My
mom added the bunny,
because everything is better with a bunny.


