but it did.
As I was cleaning and organizing my digital life here in blog world,
I discovered that this yummy post about my delicious
and new favorite butter recipe was overlooked.
Geesh!
This is just not right at all.
To try and fix this grotesque error,
here is a look back at a post written at the end of the summer.
Enjoy!
- - - - - - - - - - - - - - - - - - - - - - - - - - - - - - - - - - - - - - - - - - - - - - - - - - -

And I'm not the one giving things away this time...
Well, at least not yet. ;)
I love to give,
but it's fabulous when people give me things
that I can use in my quest to preserve the season.
Though I was thrilled to get a crate of pears,
I knew that my hands were going to pay a price for preserving the little beauties.
And they did.
In fact, I believe that today is the first day that my fingers
are not sore from the hours of peeling.
In case you weren't aware,
there really isn't a good way to handle pears.
Sure you could try the hot water trick that you use for peaches,
but I found that the pears have to be too soft to make it work.
Really, you just need a good, sharp peeler
and a lot of time.
A LOT of time.
This was not a quick project.
In fact, I peeled one day,
and then made sauce and butter the following day.
My fingers may disagree,
but the deliciousness of this butter was worth it.
 Crockpot Pear Butter
Recipe Modified from Tammi Lee Tips
Ingredients:
Pears (enough to fill your crockpot)
1 cup Orange Juice
1 cup sugar (can be omitted)
2 tsp cinnamon
1/2 tsp. ground nutmeg
1/4 tsp ground cloves

Directions:
1. Peel and peel and peel the pears.
2. Add 1 cup of Orange Juice to your crockpot. (Add the sugar at this time too.)
3. Add pears to fill the crockpot to the top.
4. Turn on the crockpot to "high" for an hour, then turn in down to low for 10 hours.
5. Stir in the cinnamon, nutmeg, and cloves.
6. Remove the lid for an hour or two to get a thicker consistency and to let the spices enrich the fruit.
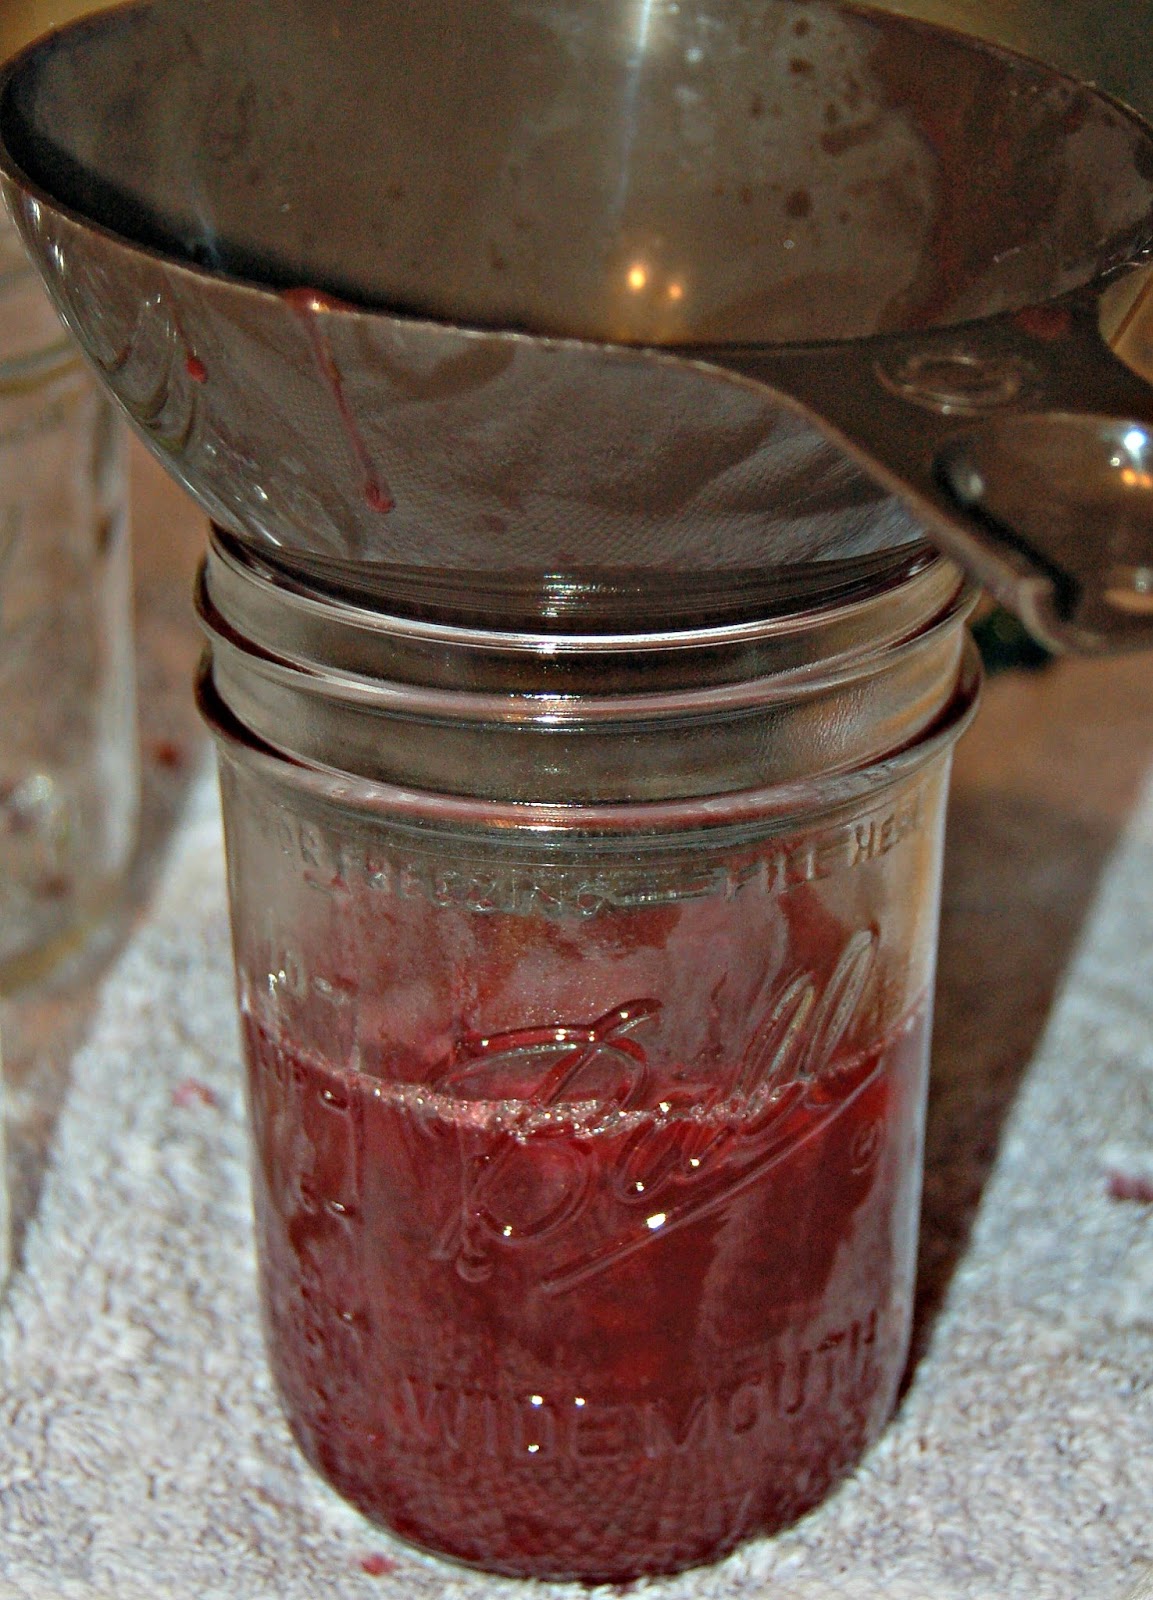
7. Follow the processing steps from The National Center for Home Food Preservation below.
FYI- I process half-pint and pint jars for 10 minutes.
Though I was thrilled to get a crate of pears,
I knew that my hands were going to pay a price for preserving the little beauties.
And they did.
In fact, I believe that today is the first day that my fingers
are not sore from the hours of peeling.
In case you weren't aware,
there really isn't a good way to handle pears.
Sure you could try the hot water trick that you use for peaches,
but I found that the pears have to be too soft to make it work.
Really, you just need a good, sharp peeler
and a lot of time.
A LOT of time.
This was not a quick project.
In fact, I peeled one day,
and then made sauce and butter the following day.
My fingers may disagree,
but the deliciousness of this butter was worth it.
Recipe Modified from Tammi Lee Tips
Ingredients:
Pears (enough to fill your crockpot)
1 cup Orange Juice
1 cup sugar (can be omitted)
2 tsp cinnamon
1/2 tsp. ground nutmeg
1/4 tsp ground cloves
Directions:
1. Peel and peel and peel the pears.
2. Add 1 cup of Orange Juice to your crockpot. (Add the sugar at this time too.)
3. Add pears to fill the crockpot to the top.
4. Turn on the crockpot to "high" for an hour, then turn in down to low for 10 hours.
5. Stir in the cinnamon, nutmeg, and cloves.
6. Remove the lid for an hour or two to get a thicker consistency and to let the spices enrich the fruit.
7. Follow the processing steps from The National Center for Home Food Preservation below.
Processing:
If this is your first time canning, please read up on the process at the The National Center for Home Food Preservation website. http://nchfp.uga.edu/FYI- I process half-pint and pint jars for 10 minutes.